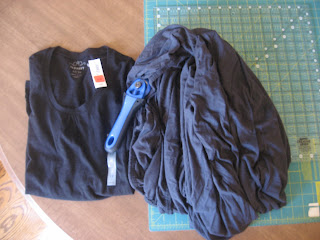
As my family and some friends know, I'm kind of a Gap-aholic. It's getting better since I've found I can make similar things, especially for my kids, but that doesn't stop me from checking their website to see what's new. I kept coming back to this shirt wondering if I could copy it. I found a black shirt from Old Navy for $2.50 and gave it a shot. So here is a sort of tutorial. (It's not a full blown tutorial because I didn't take enough pictures!)
Since the shirt already fit me, I didn't have extra fabric to work with so I used the scraps of a jersey fitted sheet. (I promise it is a new sheet - never slept on! My Mom used it to cover some couch cushions and had leftovers)
But you could use anything knit - cut up another old shirt, or if you have to take in the sides of the shirt, use the scraps. Just make sure you use a rotary cutter. It gives a much cleaner line than scissors. (Also, use a stretch needle on your machine!)
I cut two 3" by 30" strips. Gathered them on my machine, using the longest stitch length and pinned it to the neck of my shirt.
To get the ruffle to go down the middle of the shirt, I pinned the right ruffle down first, then flipped the left one over so that the gathered edges were on top of each other. (Sorry there are no pictures of this part! My kids were waking up and I had to hurry!) When everything was pinned, I changed the stitch length back to normal and sewed around the neckline first, then down the middle. To make the left ruffle lay flat, I flipped it back over and topstitched it down. And here it is!
I'll have to get a picture of me wearing it, the ruffle looks a little funny laying down. But I think it will look cute under sweaters. And I'll take $2.50 over $30!


looks professionally done. well done!
ReplyDelete